
Alice

Asuka Shikinami

Mihara: Bonding Chain

Vesti: Tactical Upgrade
Anytime burst generation and pierce is needed,
 Alice
Alice
 Alice
is a fantastic option.
 Asuka Shikinami
 Asuka Shikinami
is a good alternative without the burst generation because her weapon type.
 Mihara: Bonding Chain
 Mihara: Bonding Chain
is (mostly) used for bossing and
 Vesti: Tactical Upgrade
 Vesti: Tactical Upgrade
can be used anywhere thanks to her true damage, which helps push content under heavy combat power deficit.

Dorothy: Serendipity

Ludmilla: Winter Owner

Snow White: Heavy Arms
 Snow White: Heavy Arms
 Snow White: Heavy Arms
is the newly released (and best) water DPS available at the moment. Her burst generation is fantastic and can be used in both single target and AoE content.
 Dorothy: Serendipity
 Dorothy: Serendipity
follows behind in terms of damage for single target content and her pierce is great, but lacks proper AoE.
 Ludmilla: Winter Owner
 Ludmilla: Winter Owner
is still used as a debuffer even 2 years after her release. Worth investing if you got her on the last rerun.

Anis: Sparkling Summer

Cinderella
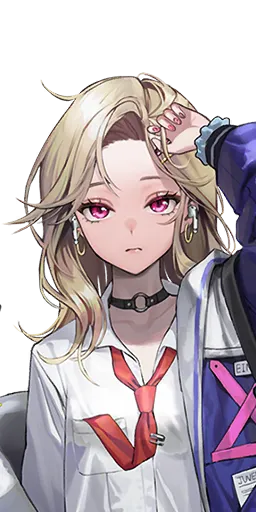
Ein

Maiden: Ice Rose
 Cinderella
 Cinderella
is the best damage dealer for electric content but she lacks proper AoE clear, making some stages in campaign and tower a bit of a pain.
Both
 Anis: Sparkling Summer
 Anis: Sparkling Summer
and
 Maiden: Ice Rose
 Maiden: Ice Rose
are buffers used on all electric weak content related. Fantastic units considering how “old” they are.
 Ein
Ein
 Ein
is still used for her pierce and true damage. She is good also on everyone’s favorite boss, Mirror Container.
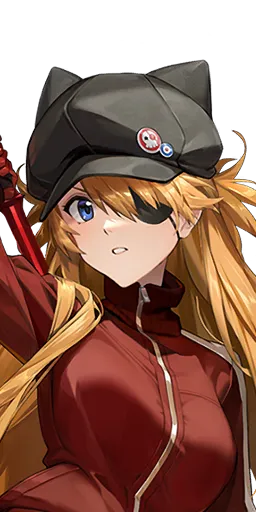
Asuka Shikinami Langley: Wille
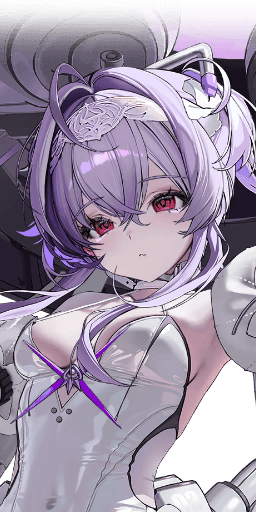
Liberalio

Nayuta
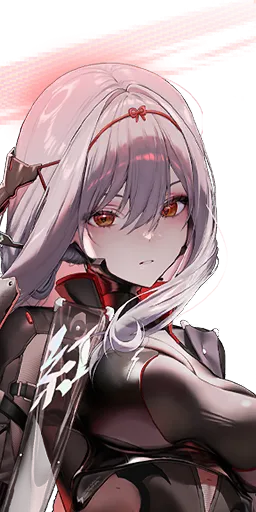
Scarlet: Black Shadow
Both
 Liberalio
 Liberalio
and
 Scarlet: Black Shadow
 Scarlet: Black Shadow
pair well together and will clear all wind weak content you need and even on neutral they are among the best units to pick.
 Asuka Shikinami Langley: Wille
 Asuka Shikinami Langley: Wille
follows close, but since she is an abnormal unit, if you did not play while the collaboration was live, it’s not possible to get her anymore.
Special mention here for
 Nayuta
 Nayuta
, albeit a burst 2 unit, she’s a mix of DPS and support and 100% worth using.

Milk: Blooming Bunny

Raven

Red Hood
Not including our core units on above,
 Raven
Raven
 Raven
is the next best pick for most players in this category.
Why? Because both
 Red Hood
 Red Hood
and
 Milk: Blooming Bunny
 Milk: Blooming Bunny
require manual play and are overall harder to use for newer players.
However, their damage is still top tier and they should be considered when talking about iron weak content.
